Intake Cam
Sensor Replacement for E39 with M52TU
(Based on 2000 528i
experience)
Time
Estimate
Allow one hour the first time. It will take much less the if you
have to do
it again.
What You
Will Need
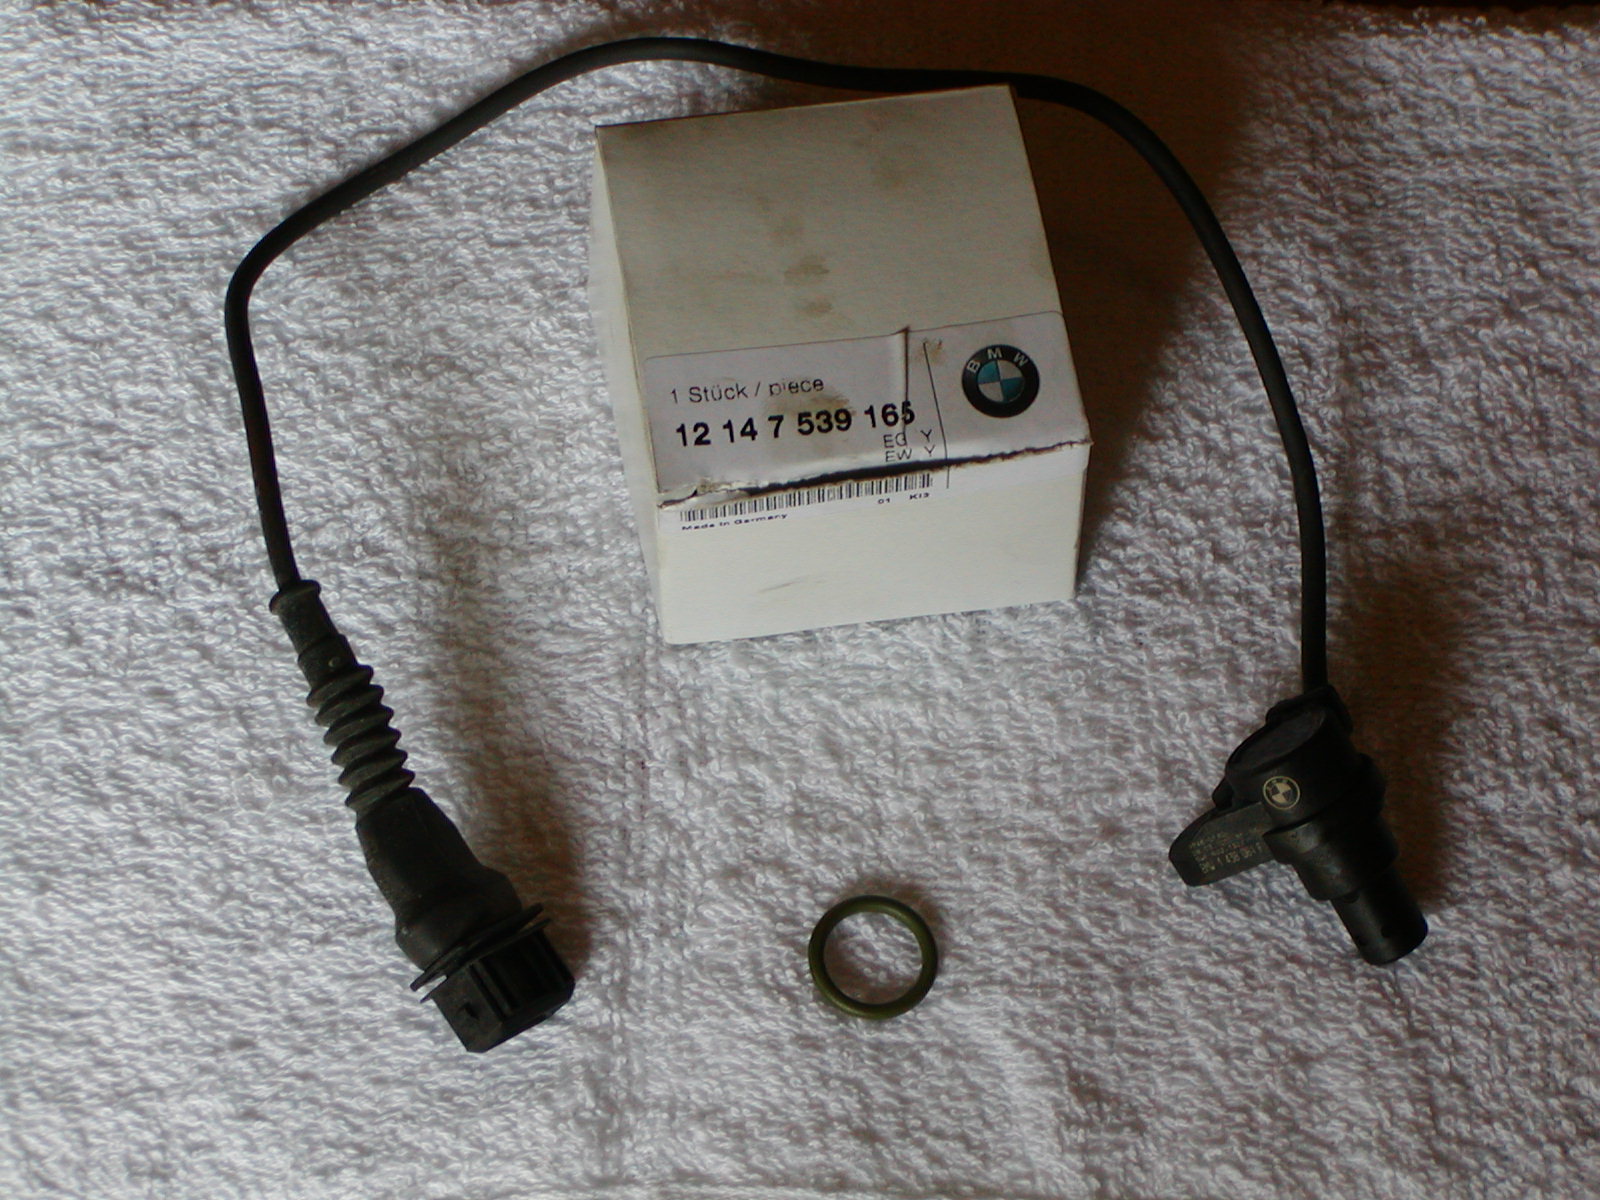
Be sure you get a new o-ring to go
with the new sensor. It is a good idea to have a new o-ring for
the VANOS sensor too. The original
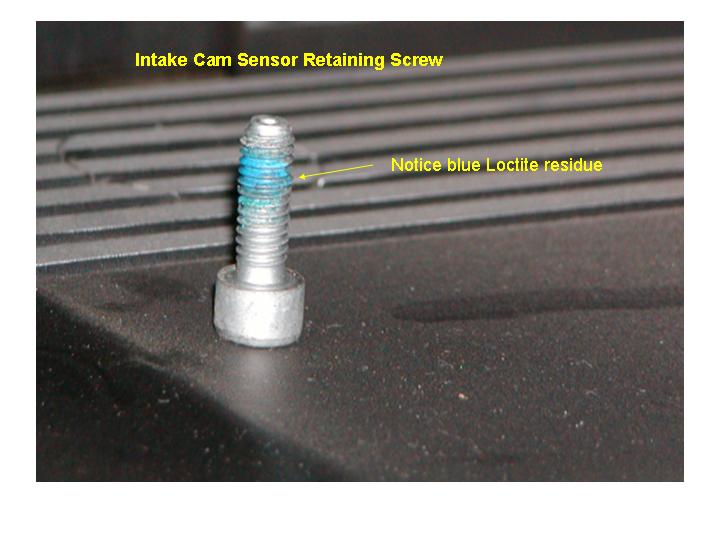
sensor retaining screw is installed with a drop or two of blue
Loctite. It’s your choice to use it or not.
Tools you will need are a 5mm hex key (Allen wrench) or ball
driver and a 32mm (1-1/4”) open-end
wrench.

Location
The intake cam position
sensor (cam pulse generator) is
located on the driver’s side of the bottom of the cylinder head near
the front. The sensor is in close proximity to the oil
canister cap and the cylindrical silver-color VANOS solenoid.
Gaining
Access
Removing the oil filter canister cap is not required, but it
will make the job a little bit easier.
Consider including an oil change if you are close to doing one
anyway. I left my cap in place. It probably cost me all of
ten minutes. Removing the filter cap requires a good
six-point 36mm socket.
Separate the rigid plastic crankcase ventilation (PCV) system
fitting by squeezing the top and bottom of the fitting’s plastic ring
and
pulling out the mating elbow.

Separate
the electrical connector on the VANOS solenoid by pushing down the
spring and
pulling out the connector. Next, unscrew
and remove the solenoid. Be aware that
some oil(half a cup or less) will come out of the solenoid hole.
It is a good idea to stuff a shop towel in
the space underneath the solenoid to absorb and prevent the oil from
flowing
onto the rest of the engine.

R&R
the Intake Cam Sensor
Follow the cam sensor pigtail and you will find its
connector buried under a bunch of hoses and wire harnesses. The
connector is barely visible, but can be
reached from the driver’s side by sliding your arm between two
intervening
hoses. Again, push the spring down and
pull on the pigtail side to separate the connector.

Remove the
Old Sensor
Unscrew and set aside the socket head sensor retaining screw.
This is the part of the procedure where
removing the oil filter canister cap would help, but it is certainly
not
necessary. The cap limits direct access
to the screw. I could not fit a socket
handle with hex socket into the space available. I found that a
5mm hex key worked fine, but it
was slow going until the screw was loose enough to rotate with my
fingers. A ball driver may give you enough angle to
use it instead. Wiggle and pull the
sensor out. Expect no oil this time.

Installation
Coat the sensor o-ring with a light layer of motor oil and
slide it down on the sensor. Snake the
pigtail attached to the new sensor roughly into place. Slide the
sensor into its hole while trying
to loosely align the retaining screw holes.
Push the sensor in until its face is fully seated. Rotate the
sensor as necessary to align the
mounting holes. If you have blue
Loctite, now is the time to apply a drop to the screw threads. Insert
and
tighten the retaining screw. The holes
are a pretty close fit. Be sure you
don’t cross-thread the screw because you have the holes misaligned.

Replace the VANOS solenoid.
Lightly oil the o-ring first.
Mate the solenoid connector. Finish
routing the cam sensor pigtail so that there is no stress or potential
chafe on
it and mate the connector. Push the PCV
tubing connection back together.
Reinstall the oil canister cap if it was removed (duh).
You’re done!